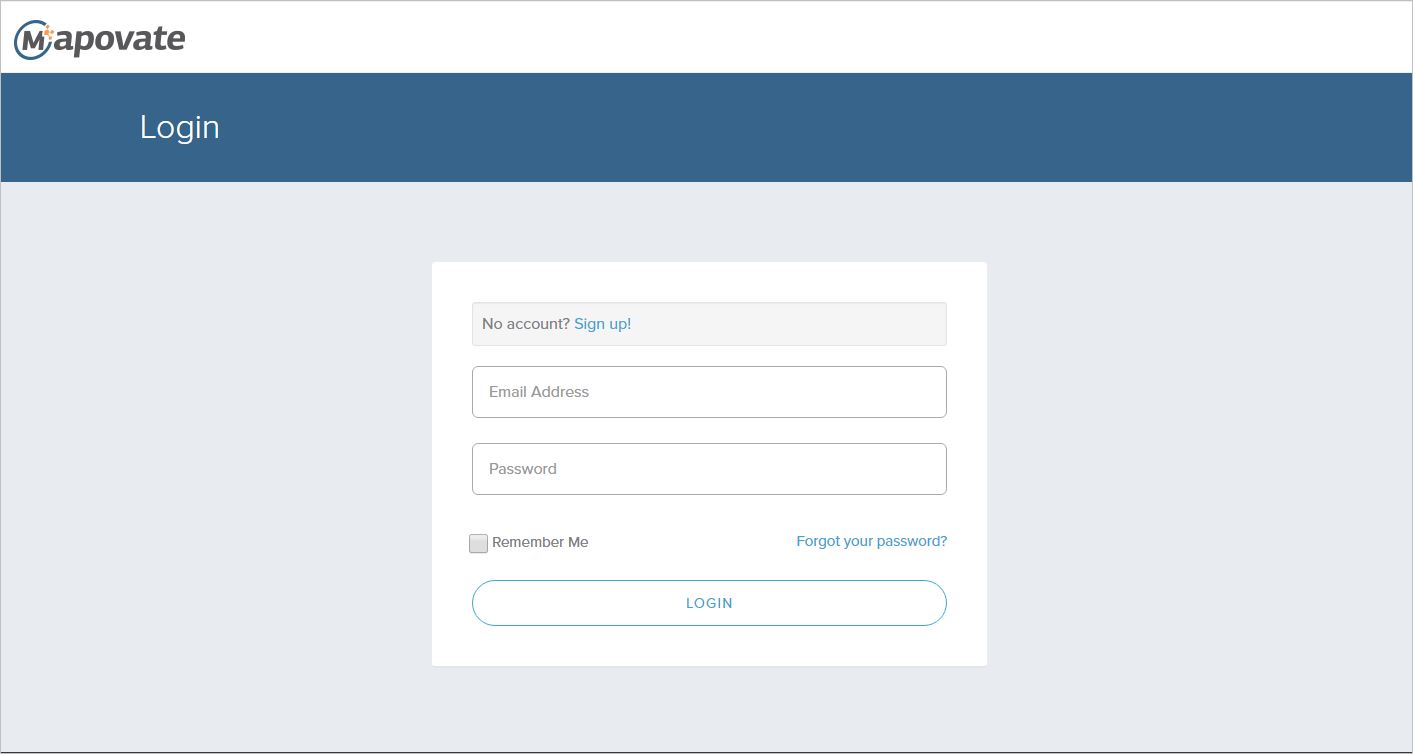
If you are a new user: Sign up and fill in the required information. You need to activate your account to be able to log in.
Welcome to your Mapovate free trial account.
Chapter 2: Linking Mapovate to KnowledgeTRAK
KnowledgeTRAK provides a fast and easy way to create surveys that can be accessed online. Survey results will be feeding Mapovate with real time Voice of Customer feedback which will help you understand your customers’ needs, experience and satisfaction level and your KPI’s.
Go to Account Settings under the Profile tab
If you wish to register in KnowledgeTRAK, go to Integration. Click on
“Get your free KnowledgeTRAK Account”
If you have already registered, go to Click Here to link the account, fill in
your account details then Connect.
Chapter 3: Creating a new journey map.
1
Go to Get Started or New Journey Map button. Provide a name for your journey map then click on Next.
2
Create your personas by clicking on Add A Persona button.
3
Fill in the required fields and upload a photo. You may also add custom fields such as goals, thoughts, feelings, opinions, expectations, and pain points of the user, if required. Hit the Save and Continue button.
Mapovate saves your time!
The created personas will be saved for later use in another journey map.
4
Start creating your stages by clicking on Add Stages button.
Mapovate saves your time!
Every stage you create will be saved for later use in another journey. Next time you can just choose the stage by clicking on the arrow next to the stage field.
5
Create touchpoints by clicking on the Add Touchpoint button. Fill in the required fields and upload a photo. Assign the touchpoint to a channel, to a department and to a stage from the drop down menu.
6
Create your Key Performance Indicator
In case you want to add a KPI, click on Add New KPI button.
Provide your KPI with a name, description, unit of measurement and goal
Set the goal condition and frequency
If you have an active account with KnowledgeTRAK, click on Sync with KnowledgeTRAK in case you want your survey linked to the KPI.
Mapovate allows integration with other Voice of Customers feedback software
7
Sync your KPI with KnowledgeTRAK
Assign channel, questionnaire and questions for your KPI.
Select the question then click on Add Question to confirm your selection
Close once all questions have been added then click on Save and Continue
Chapter 4: Dashboard Management
1
You can view, edit, share, present, download as PDF or delete your journey maps on the Journey Maps tab.
2
You can add users, edit user information and delete/change user roles, depending on your current role and package, on the Users tab.
3
You can access and edit your Personas, Departments, Channels, Stages, and KPI’s on the Manage tab.
4
You can access the FAQs or submit a support request on the Support tab.
5
You can edit your profile, change your password, and access your other account information on the Profile tab.
Chapter 5: Upgrade Your Account
1
Click on Upgrade Now and select the suitable package for you.
2
Choose the Add – Ons that suit your needs, review your order and click on Next.
3
Fill in your Payment Details and click on Pay Now. You will now receive a confirmation email containing your order and payment details.
If you are a new user: Sign up and fill in the required information. You need to activate your account to be able to log in.
Welcome to your Mapovate free trial account.
Chapter 2: Linking Mapovate to KnowledgeTRAK
KnowledgeTRAK provides a fast and easy way to create surveys that can be accessed online. Survey results will be feeding Mapovate with real time Voice of Customer feedback which will help you understand your customers’ needs, experience and satisfaction level and your KPI’s.
Go to Account Settings under the Profile tab
If you wish to register in KnowledgeTRAK, go to Integration. Click on
“Get your free KnowledgeTRAK Account”
If you have already registered, go to Click Here to link the account, fill in
your account details then Connect.
Chapter 3: Creating a new journey map.
1
Go to Get Started or New Journey Map button. Provide a name for your journey map then click on Next.
2
Create your personas by clicking on Add A Persona button.
3
Fill in the required fields and upload a photo. You may also add custom fields such as goals, thoughts, feelings, opinions, expectations, and pain points of the user, if required. Hit the Save and Continue button.
Mapovate saves your time!
The created personas will be saved for later use in another journey map.
4
Start creating your stages by clicking on Add Stages button.
Mapovate saves your time!
Every stage you create will be saved for later use in another journey. Next time you can just choose the stage by clicking on the arrow next to the stage field.
5
Create touchpoints by clicking on the Add Touchpoint button. Fill in the required fields and upload a photo. Assign the touchpoint to a channel, to a department and to a stage from the drop down menu.
6
Create your Key Performance Indicator
In case you want to add a KPI, click on Add New KPI button.
Provide your KPI with a name, description, unit of measurement and goal
Set the goal condition and frequency
If you have an active account with KnowledgeTRAK, click on Sync with KnowledgeTRAK in case you want your survey linked to the KPI.
Mapovate allows integration with other Voice of Customers feedback software
7
Sync your KPI with KnowledgeTRAK
Assign channel, questionnaire and questions for your KPI.
Select the question then click on Add Question to confirm your selection
Close once all questions have been added then click on Save and Continue
Chapter 4: Dashboard Management
1
You can view, edit, share, present, download as PDF or delete your journey maps on the Journey Maps tab.
2
You can add users, edit user information and delete/change user roles, depending on your current role and package, on the Users tab.
3
You can access and edit your Personas, Departments, Channels, Stages, and KPI’s on the Manage tab.
4
You can access the FAQs or submit a support request on the Support tab.
5
You can edit your profile, change your password, and access your other account information on the Profile tab.
Chapter 5: Upgrade Your Account
1
Click on Upgrade Now and select the suitable package for you.
2
Choose the Add – Ons that suit your needs, review your order and click on Next.
3
Fill in your Payment Details and click on Pay Now. You will now receive a confirmation email containing your order and payment details.